Updating VMware ESXi Certificate
This activity is far from straight forward. There’s lots of information about how to do this through vCenter but the information becomes very unclear when it comes to the free version of VMware ESXi.
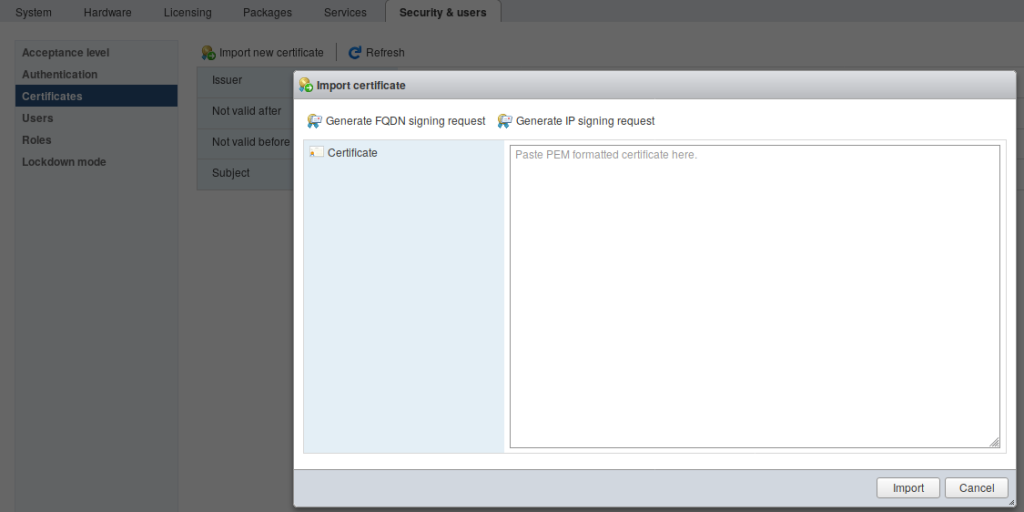
First, there is an import option from the web interface under “Manage” and “Security & Users”. However, I was not able to get this to work no matter how I formatted the referenced PEM file or copied certificate and key information and I was unable to find any reference to how this file is supposed to be formatted to allow for the import. Maybe some day VMware will put out clarity on that (unlikely as that is).
When it fails you’ll receive an error stating “vmware failed to import new SSI certificate”.

There is a way however, that will work detailed in VMware’s Knowledge Base located here: https://pubs.vmware.com/vsphere-50/topic/com.vmware.vsphere.security.doc_50/GUID-EA0587C7-5151-40B4-88F0-C341E6B1F8D0.html
In short, in your VMware ESXi instance you need to enable SSH, navigate to /etc/vmware/ssl, and replace the rui.crt and rui.key files with your issued or generated crt and key files respectively.
The important, missing, clarity on this activity is that if you’ve generated your certificate via a Certificate Authority and you’ve received a .crt file and ca-bundle file. You need the .crt file and your .key file. Replace the existing rui files with your corresponding files. You’ll have to rename them to the match the rui names.
If you run into a serious problem and can’t get the keys to work, you may loose access to the web interface. If that happens you can fix it by enabling SSH via console access, then remove the rui files that you updated and run the /sbin/generate-certificates which will reset them to VMware style defaults.


0 Comments